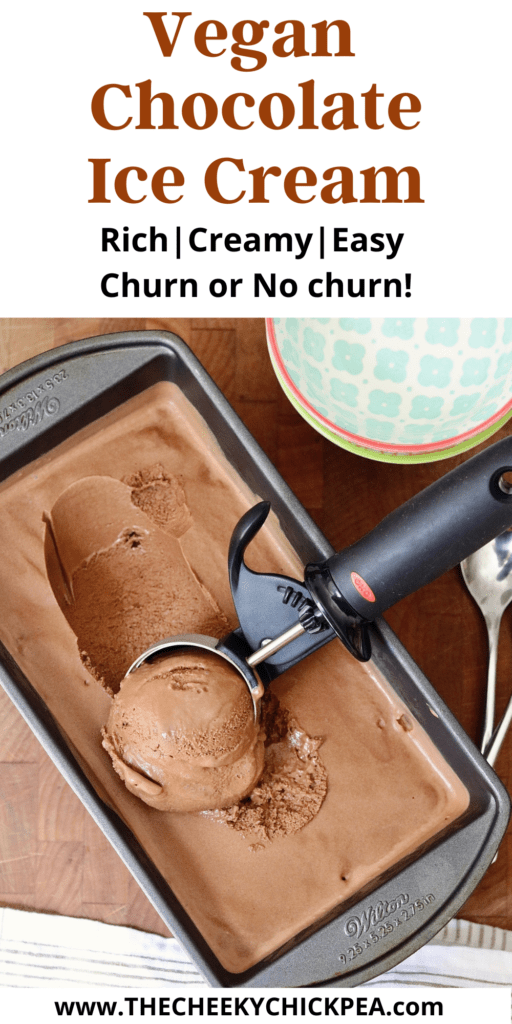
This Vegan Chocolate Ice Cream is made with coconut cream and will remind you of real malted ice cream! Easy to make with or without an ice cream maker.
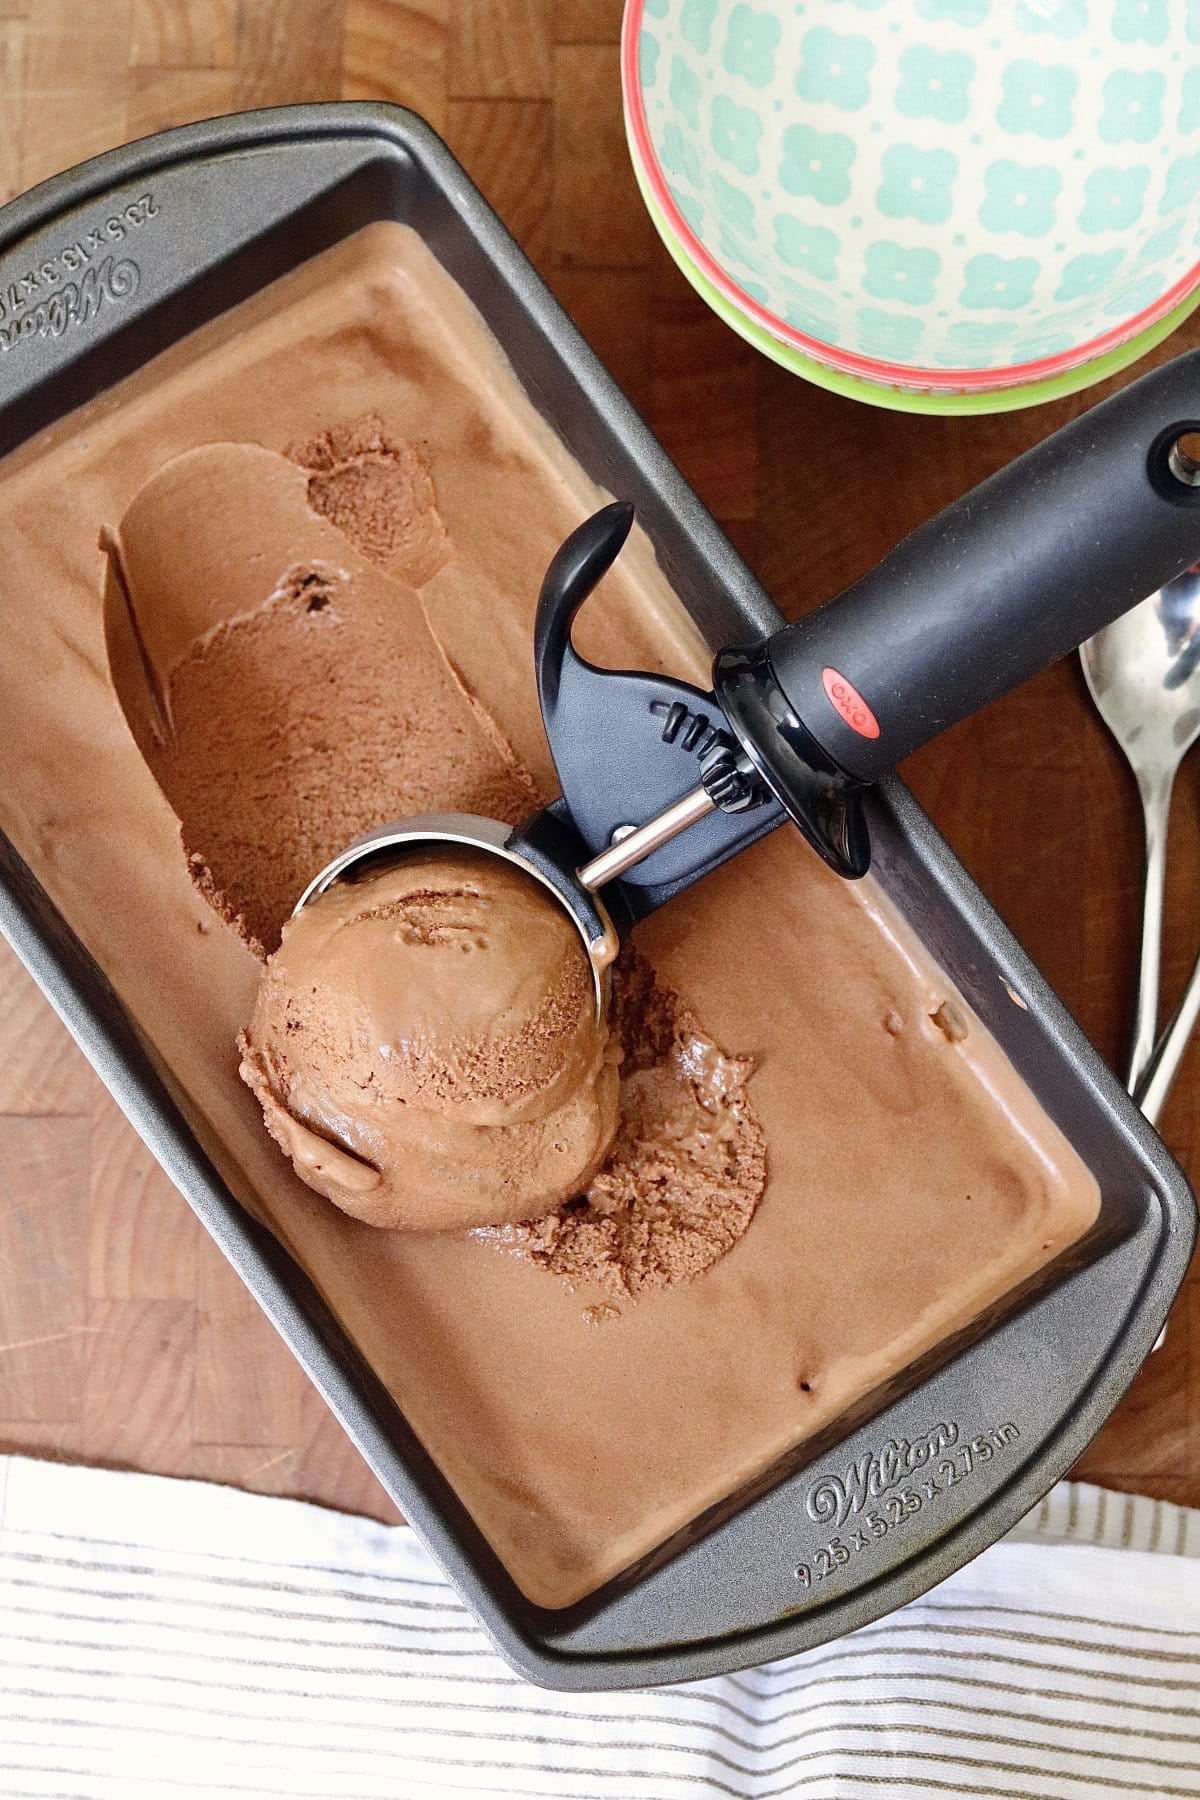
Making homemade Vegan Chocolate Ice Cream is fun, easy, and exciting. And I have good news for you: you don’t need an ice cream maker to do it! I’ve included both the churn and no-churn methods in this recipe, always leaving you with creamy, decadent non-dairy ice cream every time.
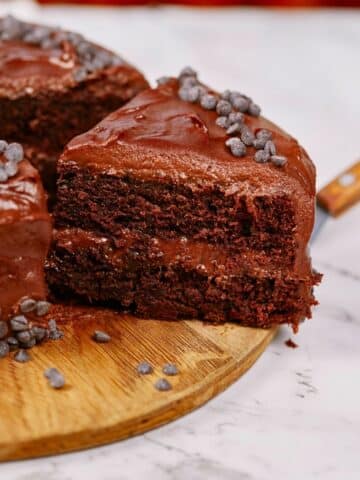
While this chocolate nice cream recipe is made with coconut cream, you don’t taste the coconut at all. Instead, every bite is rich, chocolatey, and divine. One scoop on top of my Raw Vegan Brownies or a slice of Vegan Chocolate Cake is enough to take these vegan desserts way up a notch!
Jump to:
Ingredients needed
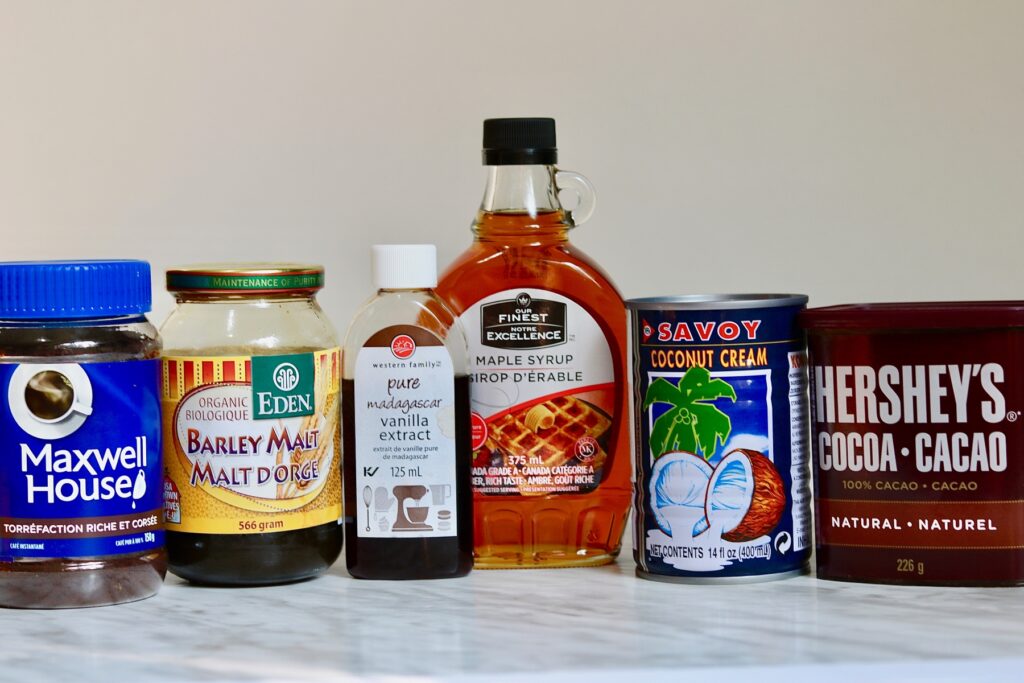
This ice cream recipe features a coconut cream base, plenty of cocoa, and 4 other easy ingredients. Here’s what you need:
- Coconut cream - Not coconut milk! similar to the creamy white part at the top of the can to make this recipe. Coconut cream is the secret behind the creamy, smooth texture and doesn’t contribute to the flavor at all. I use 2 full cans of Savoy brand coconut cream ( I buy at Walmart)
- Barley malt syrup - Because this is vegan malted ice cream, you need barley malt syrup for that authentic sweetness. It can be found in most health food stores and kept in your fridge for at least 2 years. While it isn’t a gluten free product, maple syrup or agave syrup can be used instead.
- Maple syrup - Feel free to reduce the amount if the ice cream is too sweet for you.
- Cocoa powder - Because it just wouldn’t be vegan chocolate ice cream without the cocoa.
- Instant coffee - Or instant espresso. Both will enhance the rich chocolate flavor without contributing to the flavor or caffeine level.
- Vanilla extract - To help round out the sweetness and flavors.
How to make vegan chocolate ice cream
I made this vegan ice cream recipe in a 2-quart ice cream maker. If you don’t have one, all you need is a blender or food processor instead. Both methods are foolproof:
With an ice cream maker (churn method):
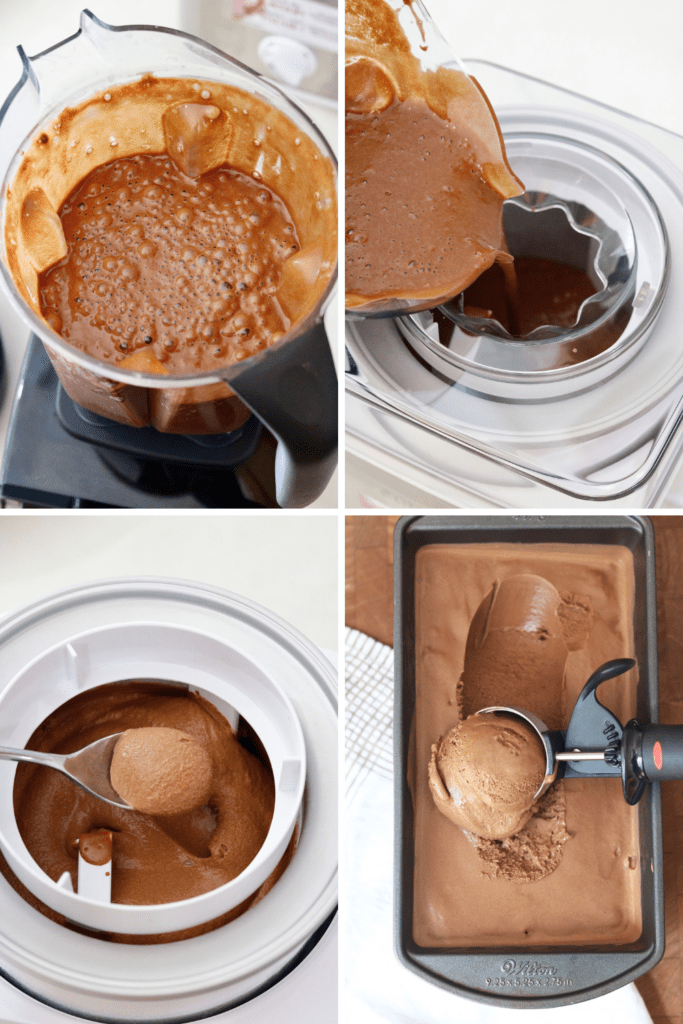
- Blend the ingredients: Place all of the ice cream ingredients into a blender and blend until smooth. The mixture will be warm after blending, which is why I recommend letting it chill in the fridge for 1 hour.
- Churn the ice cream: Pour the blended mixture into the frozen base of the ice cream machine. Prepare according to manufacturer settings (about 25 to 30 minutes of churning) until you have soft serve-looking ice cream.
- Freeze: Transfer the ice cream to an airtight container and smooth out the top. Place it in the freezer for 2 to 4 hours or overnight to set.
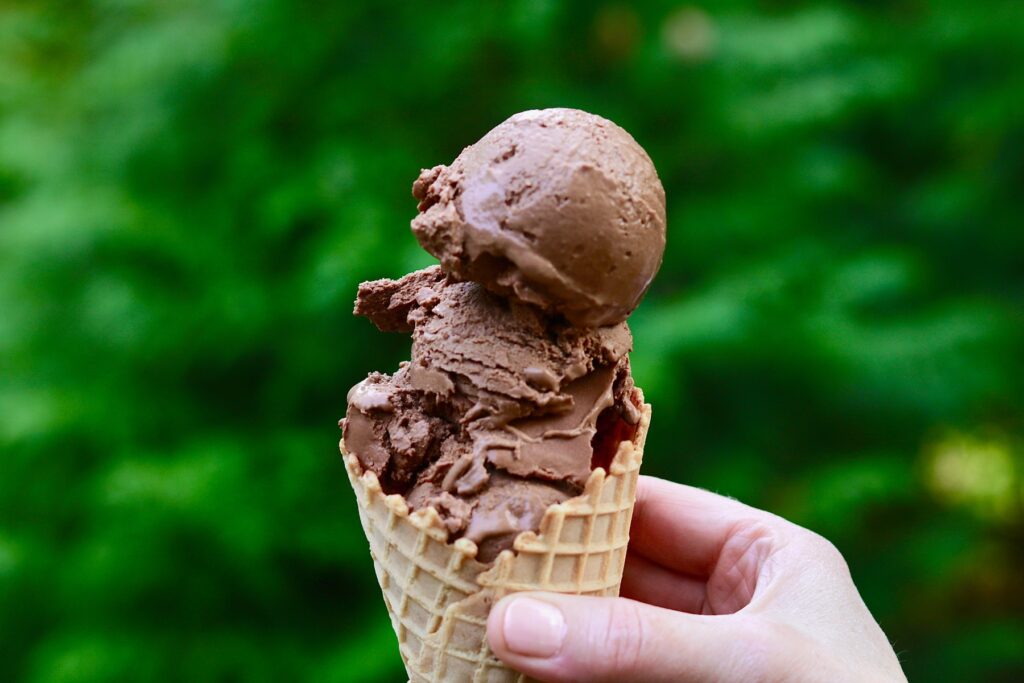
- Enjoy: Serve the ice cream in bowls or ice cream cones and enjoy! Full ingredients and instructions in printable recipe card below.
Without an ice cream maker (no-churn method):
- Blend the ingredients: Place all of the ice cream ingredients into a blender and blend until smooth.
- Freezing and stirring: Pour the mixture into an airtight container or loaf pan and place it in the freezer. Stir it every 30 minutes until it’s frozen solid (or just freeze 😊)
- Enjoy: Lastly, enjoy a scoop or two when the ice cream is frozen!
Adding mix-ins to homemade ice cream
There’s nothing like a scoop of ice cream that’s jam-packed with fun mix-ins, from chocolate chips to brownie pieces! Simply add the mix-ins of your choice to the ice cream when it’s just about done churning or stir them into the half-frozen blended mixture.
There are plenty of mix-ins to choose from:
- Chocolate chips
- Fresh fruit (like strawberries, raspberries, or peaches)
- Crushed nuts
- Broken chocolate chip cookie pieces
- Candy
- Brownies
- Vegan peanut butter cups
- Vegan mini marshmallows
- Leftover chocolate cake pieces
- Chocolate sauce*
- Caramel sauce*
*If you want to add sweet sauces, swirl them in by hand once the ice cream is in the container.
Tips for success
- I recommend chilling the coconut cream in the fridge overnight if you want your ice cream to freeze faster.
- If the barley malt syrup is hard to pour, heat it in the microwave for about 30 seconds to soften it up.
- If you’re worried about ice crystals forming on top of the ice cream, place a layer of plastic wrap directly on top before sealing the lid on top and freezing.
- This recipe has a fair amount of sugar, which means ice crystals are less likely to form. It also means the frozen ice cream won’t be rock hard and will be easier to scoop.
- You can reduce the sugar if you want but use the tip above to avoid ice crystals.
- Let the ice cream sit on the kitchen counter for 10 to 15 minutes before eating.
- Instead of making ice cream, freeze the mixture in popsicle molds for amazing vegan fudgesicles!
Store:
Wondering how long will this vegan ice cream keep? You can store this ice cream in an airtight container in the freezer for up to 2 weeks.
Hungry for more chocolatey vegan desserts?
Enjoy everyone! Happy Day! Please feel free to comment below and give this recipe a rating. Your feedback is greatly appreciated!
Follow me on PINTEREST and INSTAGRAM for more tasty Plant Based & Vegan Recipes❤️
Subscribe here for free weekly recipes delivered right to your inbox! No need to scour the internet. Your one stop shop for recipes is here😊 No spam I promise!
Print
Vegan Chocolate Ice Cream (Churn or No-Churn)
- Total Time: 30 minutes
- Yield: 8-10 servings 1x
- Diet: Vegan
Description
This Vegan Chocolate Ice Cream is easy to make with or without an ice cream maker. All you need are 6 simple ingredients!
Ingredients
- 2- 14 oz cans of coconut cream (not coconut milk)*
-
⅔ cup barley malt syrup
-
½ cup Maple Syrup
-
⅔ cup cocoa powder, I use Hershey's cocoa 100% natural cocao
-
1 teaspoon instant coffee, regular or decaf
-
1 teaspoon pure vanilla extract
Instructions
- First ensure your freezer base of your 2 quart ice cream maker is in the freezer for 24 hours before using. I just keep mine freezer, then it’s always ready.
-
In a blender, blend all the ingredients together until completely smooth, a minute or so. If the mixture seems a little warm, chill in the fridge for about an hour or so (recommended)
-
Remove from the fridge. Set the ice cream freezer base into the ice cream machine and pour the ice cream mixture in. Prepare according to manufacturer settings, about 25-30 minutes of churning. It should resemble soft serve ice cream. If you're not using an ice cream maker, see notes section for no churn instructions.
-
Scoop the soft serve ice cream into an airtight container (I use a loaf pan) and smooth it down. Then seal the container (or wrap pan). Place in the freezer for 2 to 4 hours to set up, or overnight. You can also enjoy it right away as soft serve ice cream!
-
When ready to serve, remove from the freezer for at least 10 to 15 minutes to soften, just like you would with store bought ice cream. Scoop, serve and enjoy! For step by step photos and more see above post.
Notes
- No churn method: once mixed and chilled just pour seal and freeze! Could stir every 30 minutes until frozen (optional)
- Ice crystals: if your worried about ice crystals forming on your ice cream place a piece of plastic wrap directly on ice cream mixture before sealing container and freezing
- Adding mixins to ice cream: Just before ice cream is finished churning, stir in any mixins of choice like chocolate chips, fresh fruit, nuts, crunchy cookies or candy, etc,.. If adding caramel, swirl in by hand once ice cream is in the container.
- Barley malt syrup: can be found in most health food stores and can be kept for at least 2 years in the fridge! It is not gluten free ( I use Eden Brand)
- Coconut cream: I use Savoy brand canned coconut cream (I buy from Walmart)
- To Store: will keep covered in the freezer for up to 2 weeks.
Post has been updated it was originally published July 2018. Recipe is unchanged
- Prep Time: 30 Minutes
- Category: Desserts
- Method: Ice cream maker
- Cuisine: American, Canadian

Suzanne
Whoa.
Seriously good.
I used the non-ice cream maker method and it turned out wonderfully.
This recipe is here to stay.
Vera Morgan
Aww thanks for the feedback Suzanne, glad you liked it!
Pamela
Amazing! Rich and creamy ❤️
So good I’m hiding it on my kids
Verna
Haha! Thanks for the wonderful feedback made my day 🙂
Jackie
Excellent nice cream recipe! I used my ice cream maker even though it is a no churn recipe and it was fabulous!! Thank you for sharing
Verna
Sounds great Jackie! glad you liked it.
Gordan
My wife and I used this recipe for ice cream sandwiches. Absolutely amazing. Thanks!!
The Cheeky Chickpea
Oh yum! What a great idea. Glad you and your wife enjoyed the ice cream. Thank you so much for your comment Gordan.
Nina
Can't wait to try this!
The Cheeky Chickpea
thank you! let me know how it turns out!?