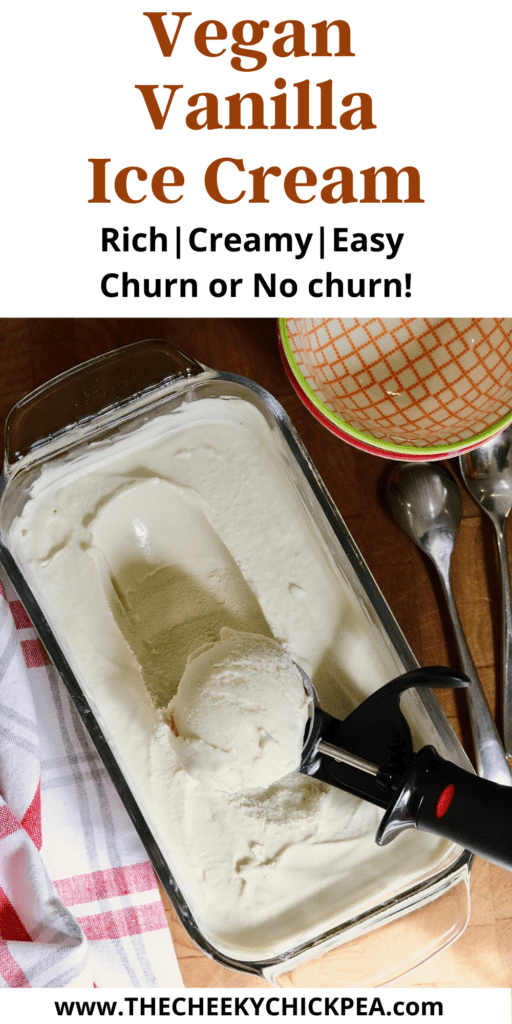
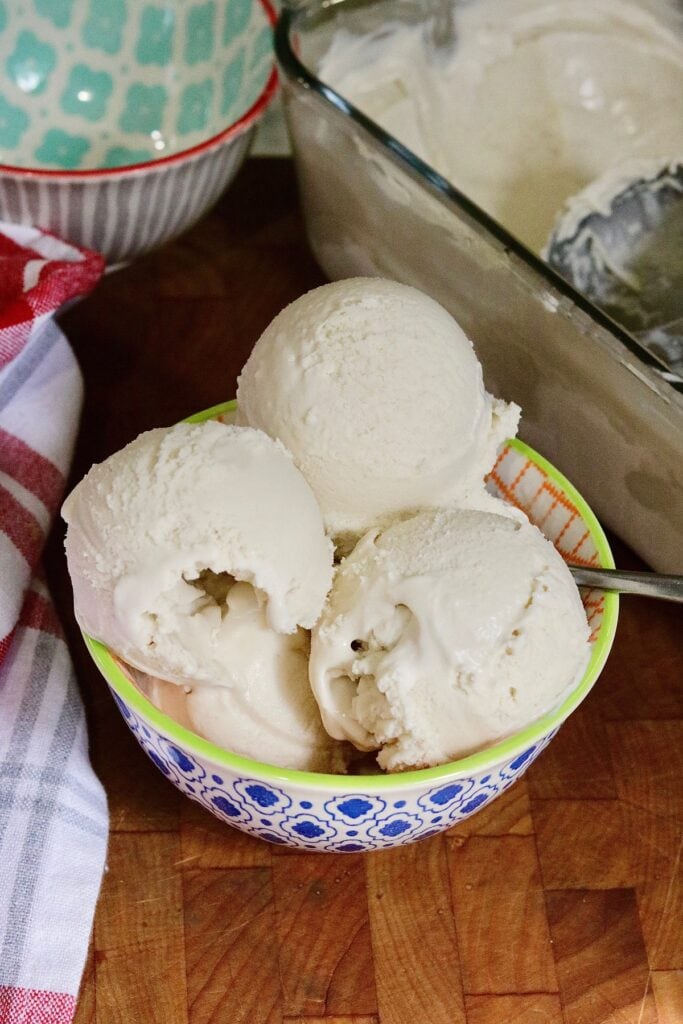
This is the best Vegan Vanilla Ice Cream recipe! It’s made with 5 easy ingredients and always tastes delightfully rich and creamy. Make it with or without an ice cream maker!
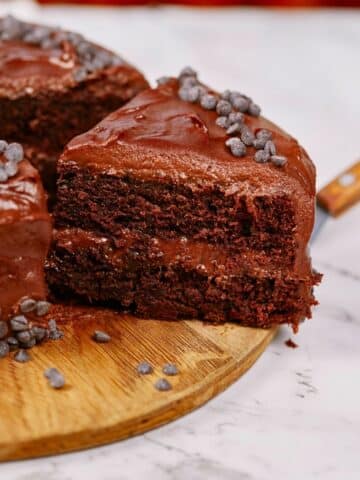
A slice of vegan chocolate cake just isn’t complete without a scoop of vanilla ice cream on top. Now the two can always be together thanks to this easy Vegan Vanilla Ice Cream recipe! It can be made with or without an ice cream maker and is just as creamy and rich as real dairy ice cream.
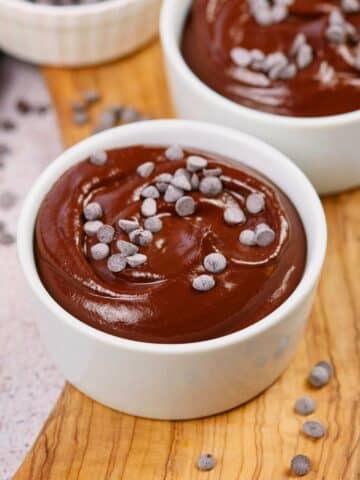
Besides vegan chocolate ice cream, having a batch of vanilla dairy free ice cream ready to eat in your freezer is a must at all times. Not only does it make for the ultimate dessert, but it’s also:
- Rich and decadent
- Just as creamy as real dairy ice cream
- Easy to customize with mix-ins, from fresh strawberries to cookie pieces
- Easy to make using the churn or no-churn method
The creamy coconut cream base and a touch of almond extract spruce up this homemade vanilla ice cream. Every spoonful (or lick of the ice cream cone) is almost elegant in a way and slightly nutty. Bonus: you don’t even taste the coconut!
Jump to:
Ingredients and substitutions
The 5 ingredients in this non-dairy vanilla ice cream are simple, easy to find, and budget-friendly. Here’s what you need:
- Coconut cream - Coconut milk will not work for this recipe. Instead, buy a few cans of coconut cream or use the creamy white part at the top of the can of coconut milk. Coconut cream will give the non-dairy ice cream a rich, creamy, and smooth texture without contributing to the flavor.
- Dark brown sugar - This is my sugar of choice in non-dairy vegan ice cream, but you can substitute it with maple syrup, granulated white sugar, cane sugar, or demerara sugar.
- Vanilla extract - Pure vanilla extract rather than imitation extract is always best because it has cleaner flavors and will help the ice cream freeze a little less firmly. Vanilla bean paste will work just as well and will speckle the ice cream with black vanilla beans.
- Almond extract - Or leave this out if you don’t want the ice cream to have a subtle nutty flavor (or to make it nut free).
- Salt - To round out all of the flavors and to make the vanilla pop.
How to make vegan vanilla ice cream
I used the churn method to make this vegan ice cream recipe in a 2-quart ice cream maker. If you don’t have an ice cream machine, use the no-churn method using a blender or food processor instead. Both methods are foolproof:
With an ice cream maker (churn method):
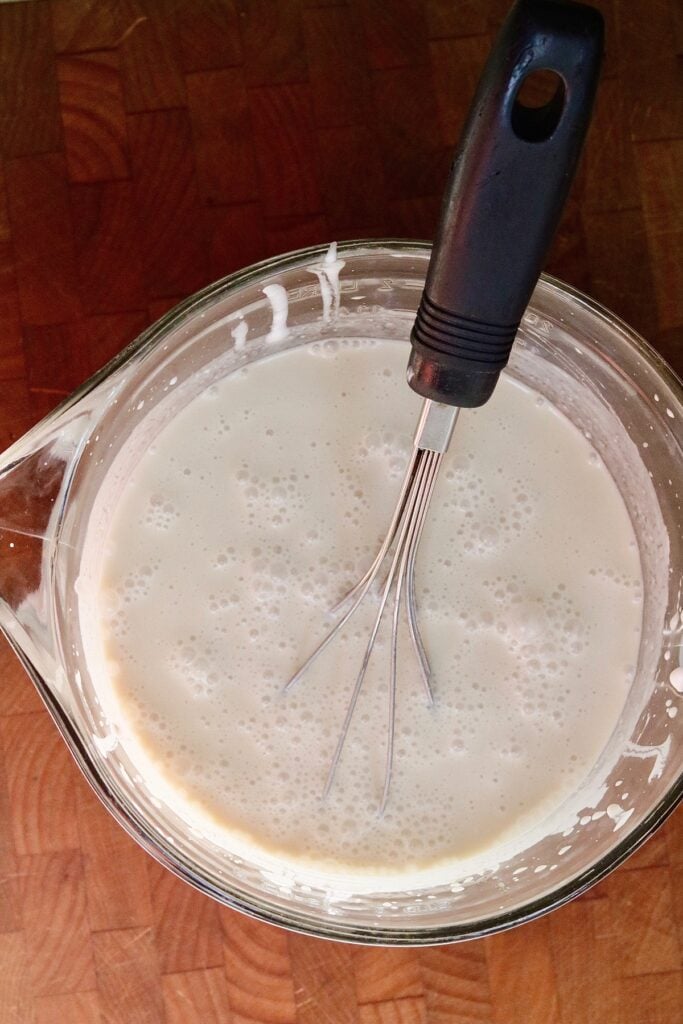
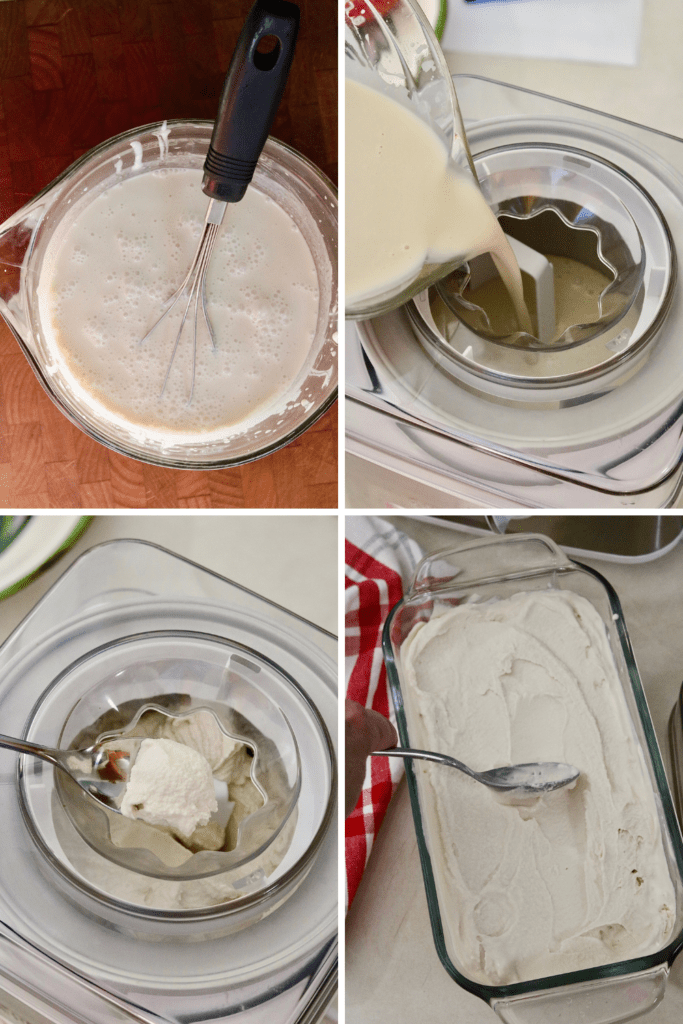
- Whisk the ingredients: Add the ingredients to a mixing bowl and whisk them all together until you have a smooth mixture.
- Churn the ice cream: Pour the mixture into the frozen base of the ice cream machine. Prepare according to manufacturer settings (about 25 to 30 minutes of churning) until you have soft serve-looking ice cream.
- Freeze: Transfer the ice cream to an airtight container and use a spatula to smooth out the top. Leave it in the freezer for 2 to 4 hours or overnight to set.
- Enjoy: Serve the ice cream in bowls or ice cream cones and enjoy! For ingredients and full instructions see printable recipe card below.
Without an ice cream maker (no-churn method):
- Whisk the ingredients: Add the ingredients to a mixing bowl and whisk them all together until you have a smooth mixture.
- Freezing and stirring: Pour the mixture into an airtight container or loaf pan and place it in the freezer. Stir it every 30 minutes until it’s frozen solid.
- Enjoy: Lastly, enjoy a scoop or two when the ice cream is frozen!
Adding mix-ins to homemade ice cream
Simply add the mix-ins of your choice to the homemade ice cream when it’s just about done churning or stir them into the half-frozen blended mixture.
There are plenty to choose from:
- Chocolate chips
- Fresh fruit (like strawberries, raspberries, or peaches)
- Crushed nuts
- Broken chocolate chip cookies or Oreo cookie pieces
- Brownies
- Vegan peanut butter cups
- Macerated strawberries
- Leftover vanilla cake pieces
- Chocolate sauce*
- Caramel sauce*
*If you want to add sweet sauces, swirl them in by hand once the ice cream is in the container.
Tips for success
- Let the coconut cream come down to room temperature before whisking. This way, it will be less firm and easier to work with.
- Alternatively, if you’re in a rush, blend the cold coconut cream with the rest of the ingredients in a blender.
- Avoid ice crystals on your ice cream by layering the top with a piece of plastic wrap.
- You can reduce the amount of sugar in the recipe if you want but use the tip above to avoid ice crystals.
Looking for more vegan desserts?
- Vegan Lemon Tarts
- Strawberry Shortcake
- Coconut Loaf Cake
- Strawberry Rhubarb Upside Down Cake
- Vegan New York Style Cheesecake
Enjoy everyone! Happy Day! Please feel free to comment below and give this recipe a rating. Your feedback is greatly appreciated!
Follow me on PINTEREST and INSTAGRAM for more tasty Plant Based & Vegan Recipes❤️
Subscribe here for free weekly recipes delivered right to your inbox! No need to scour the internet. Your one stop shop for recipes is here😊 No spam I promise!
Print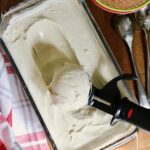
Vegan Vanilla Ice Cream (Churn or No Churn)
- Total Time: 30 minutes
- Yield: 8-10 Servings 1x
- Diet: Vegan
Description
This is the best Vegan Vanilla Ice Cream recipe! It’s made with 5 easy ingredients and always tastes delightfully rich and creamy. Make it with or without an ice cream maker!
Ingredients
- 2- 14 oz cans coconut cream (not coconut milk)*
-
¾ cup dark brown sugar, packed (see notes*)
-
1 and ½ tablespoons pure vanilla extract
-
¼ teaspoon almond extract (omit for nut free)
-
¼ teaspoon table salt
Instructions
- First ensure your freezer base of your 2 quart ice cream maker is in the freezer for 24 hours before using. I just keep mine in the freezer, then it’s always ready.
-
In a large glass mixing bowl (preferably with a spout) whisk together all ingredients until smooth.
-
Set the ice cream freezer base into the ice cream machine and pour the ice cream mixture in. Prepare according to manufacturer settings, about 25-30 minutes of churning. It should resemble soft serve ice cream. If you're not using an ice cream maker, see notes section for no churn instructions.
-
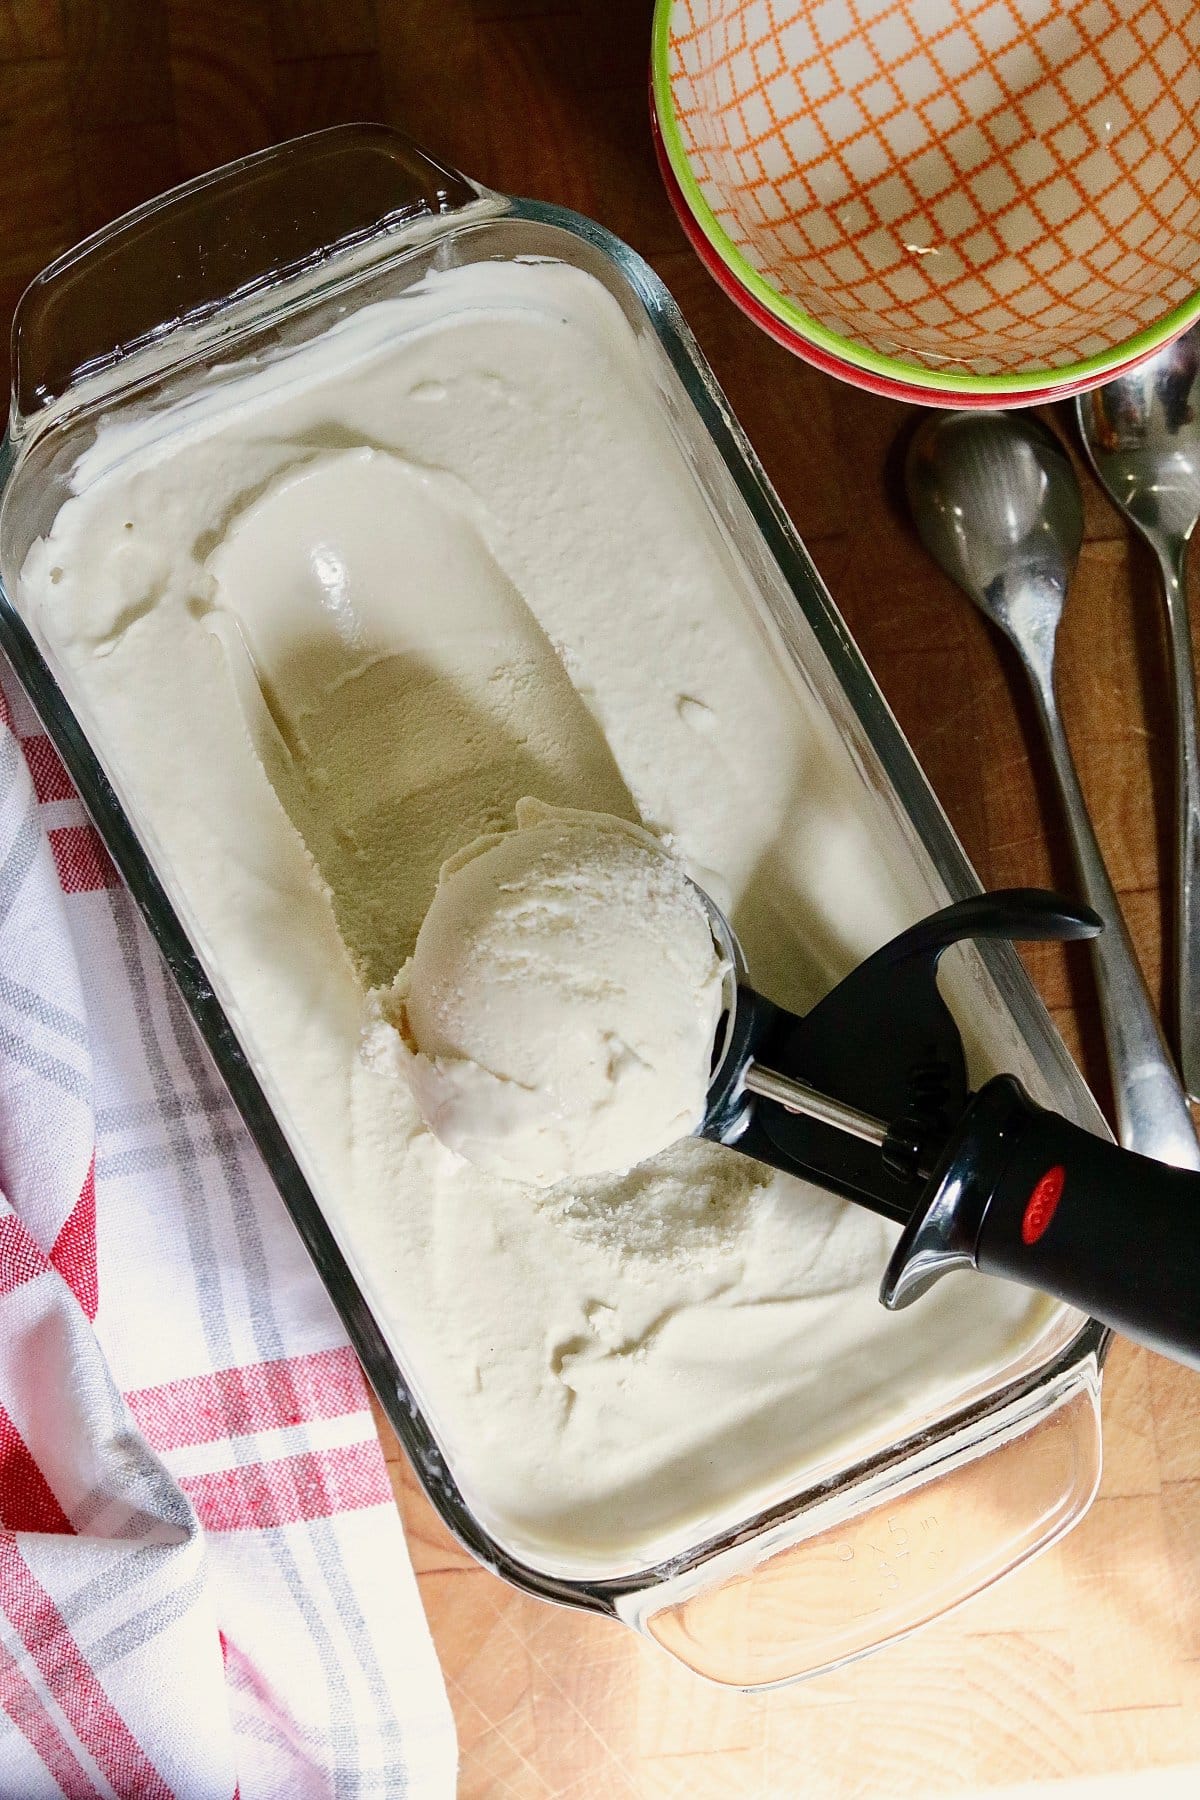
Scoop the soft serve ice cream into an airtight container (I use a loaf pan) and smooth it down. Then seal the container (or wrap pan). Place in the freezer for 2 to 4 hours to set up, or overnight. You can also enjoy it right away as soft serve ice cream!
-
When ready to serve, remove from the freezer for at least 10 to 15 minutes to soften, just like you would with store bought ice cream. Scoop, serve and enjoy! For photos, suggestions and more see above post.
Notes
- Sugar: can substitute maple syrup or any kind of sugar, granulated, demerara, cane sugar etc,.. But I prefer recipe as written
- No churn method: once mixed and chilled just pour seal and freeze! Could stir every 30 minutes until frozen (optional)
- Ice crystals: if your worried about ice crystals forming on your ice cream place a piece of plastic wrap directly on ice cream mixture before sealing container and freezing
- Adding mixins to vanilla ice cream: Just before ice cream is finished churning, stir in any mixins of choice like fresh fruit, chocolate chips, walnuts, crunchy cookies or candy, etc,.. If adding caramel, swirl in by hand once ice cream is in the container or drizzle on top when serving.
- Ice cream maker: You Need a 2 quart ice cream maker for this recipe. I have the Cuisinart ICE30BC Ice Cream Maker, 2-Qt and love it!
- Coconut cream: I use Savoy brand canned coconut cream for this recipe.
- Store: will keep covered in freezer for up to 2 weeks.
- Prep Time: 30 Minutes
- Category: Desserts, gluten free
- Method: Ice cream maker
- Cuisine: American, Canadian
Janet says
This was absolutely delicious! I added mango and pineapple at the end.... I would have loved to have the nutritional info.... or at least calories in a serving.... but perhaps I really wouldn't!
Kim says
This was the best ice cream we put strawberries on top yum!!!!!
Vera Morgan says
Yay glad it was a hit!
Denver says
Fantastic ice cream we enjoyed it with apple crisp made with my own apples.
Verna says
Oh how nice! Glad you enjoyed it, thanks for leaving a review very appreciated.