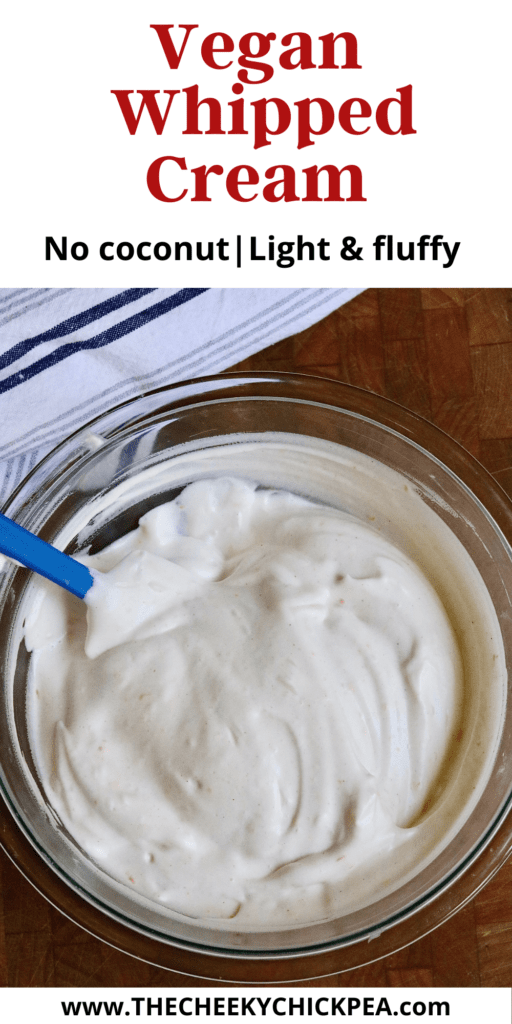
This Vegan Whipped Cream recipe is ultra-fluffy, light, and coconut free! It’s easy to make using aquafaba and whips up in about 10 minutes. Perfect for holidays, special events, or whenever you want to turn vegan desserts into irresistible treats!
You may have thought that making vegan whipped cream without coconut would be impossible. This aquafaba whipped cream proves otherwise! It’s a creamy, light, and fluffy topping you’ll love on vegan angel food cake, pudding, hot chocolate, pumpkin pie, and more.
Making vegan whipped cream with aquafaba is so much easier than with coconut milk. Simply pour the aquafaba into the bowl and whip! There’s almost no prep or wait time.
A standing mixer or handheld mixer will give your elbow a break when making this recipe. Just like meringue, aquafaba can take up to 10 minutes to whip into stiff and sturdy peaks. Save yourself the trouble and invest in an electric mixer!
This sweetened, fluffy whipped cream is a must-have in any vegan home baker's repertoire. The well-balanced and creamy flavors. Use it during the holidays, on all kinds of vegan desserts, or as a topping on smoothies and coffee drinks year-round!
Jump to:
What is aquafaba?
Aquafaba is another name for the liquid or brine in a can of chickpeas. This “bean juice”, when whipped, becomes an airy mixture that’s almost the same as real meringue. The flavor isn’t very appetizing on its own but when it’s whipped with sugar and vanilla, the aquafaba whip is just as delicious as traditional whipped cream.
What is aquafaba whipped cream made of?
- Aquafaba - Most vegan whipped cream recipes are made with whipped coconut milk but this recipe uses the brine from a can of chickpeas (AKA aquafaba). Strain the chickpeas over a bowl to collect the aquafaba. You can either do this right before making the whipped cream or days ahead of time. Just bottle the aquafaba and store it in the fridge for later.
- Cream of tartar - This is what helps stabilize the whipped cream. Cream of tartar isn’t always necessary but can speed up the whipping process. Lemon juice should work as an easy substitute.
- Vanilla extract - For flavor and balance. Feel free to experiment with different flavored extracts (like lemon extract or almond extract) when you want the whipped cream to match the dessert you’re serving it with.
- Powdered sugar - AKA icing sugar. Granulated white sugar could work as a substitute but it may not dissolve as well.
Pro tip: I like to add a pinch or two of cinnamon and orange zest for extra flavor. Feel free to do the same!
How to make vegan whipped cream
This aquafaba whipped cream recipe makes about 4 cups of whipped cream. Turn to it during the holidays or whenever your vegan desserts could use a little extra sweetness. Here’s how you make it:
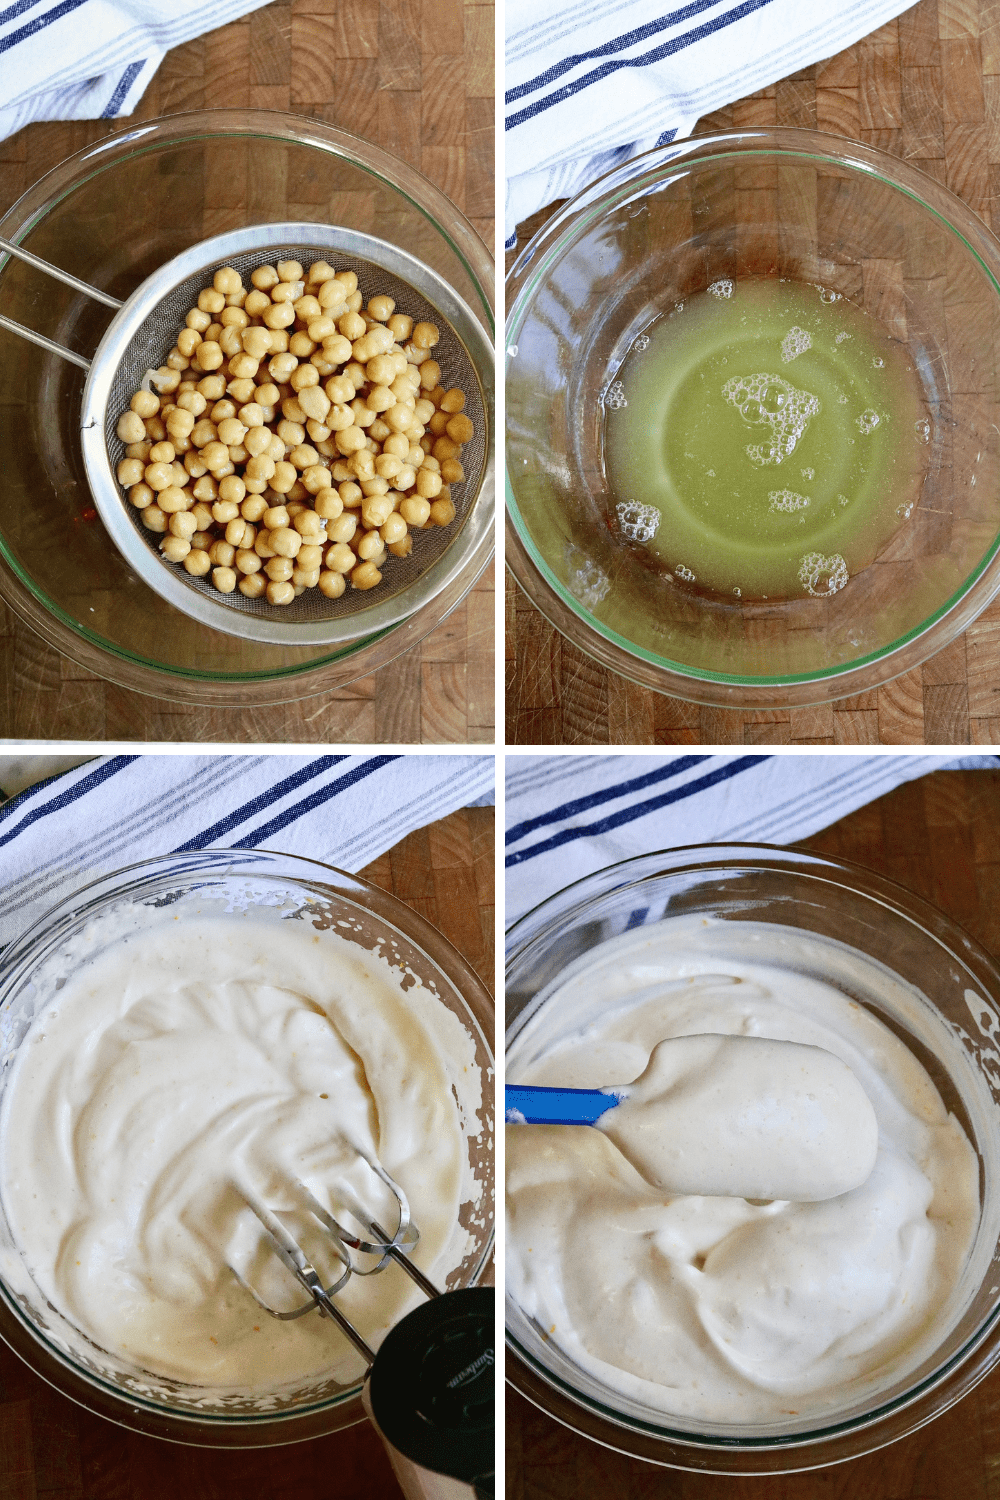
- Strain the chickpeas: Place the chickpeas in a mesh strainer over a bowl to drain the aquafaba. You should end up with about 1 cup of aquafaba. Store the chickpeas for later or use them up in a quinoa salad or homemade hummus.
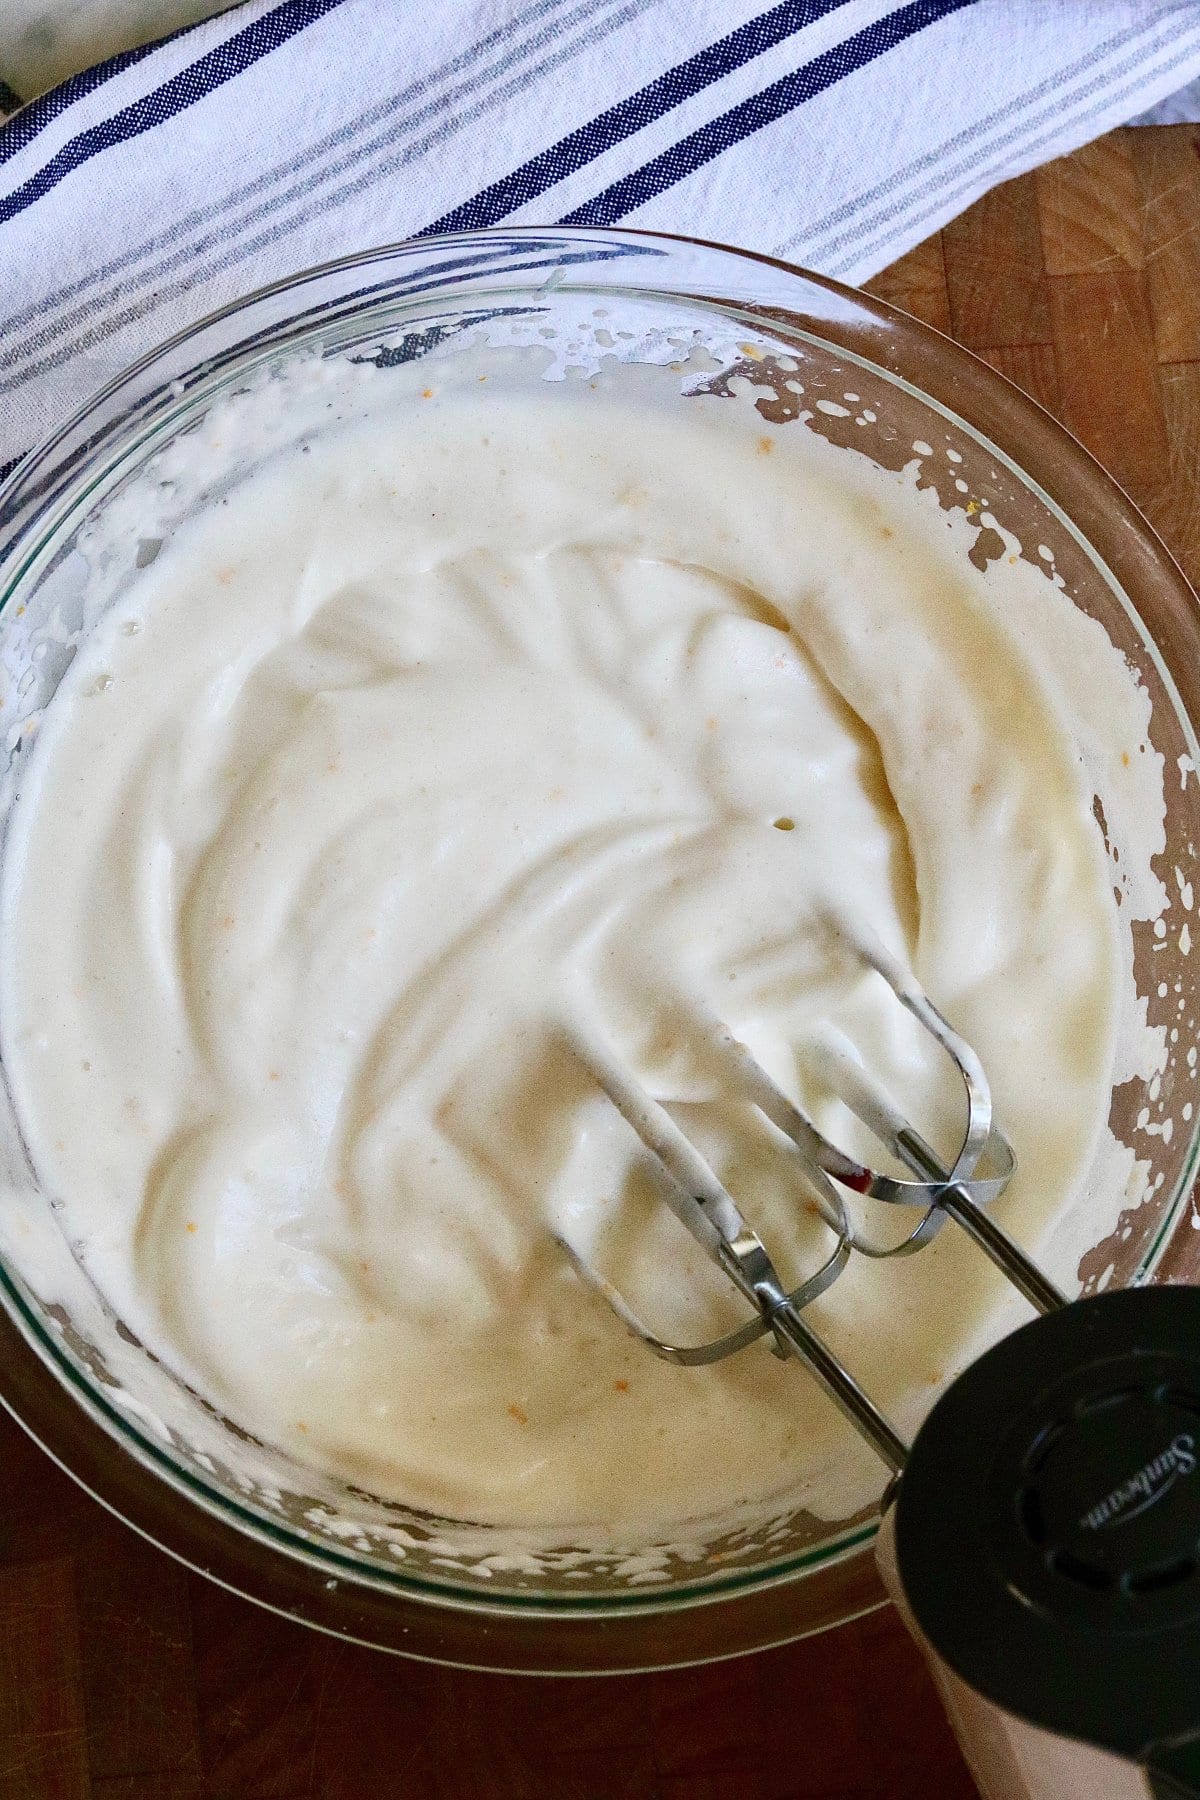
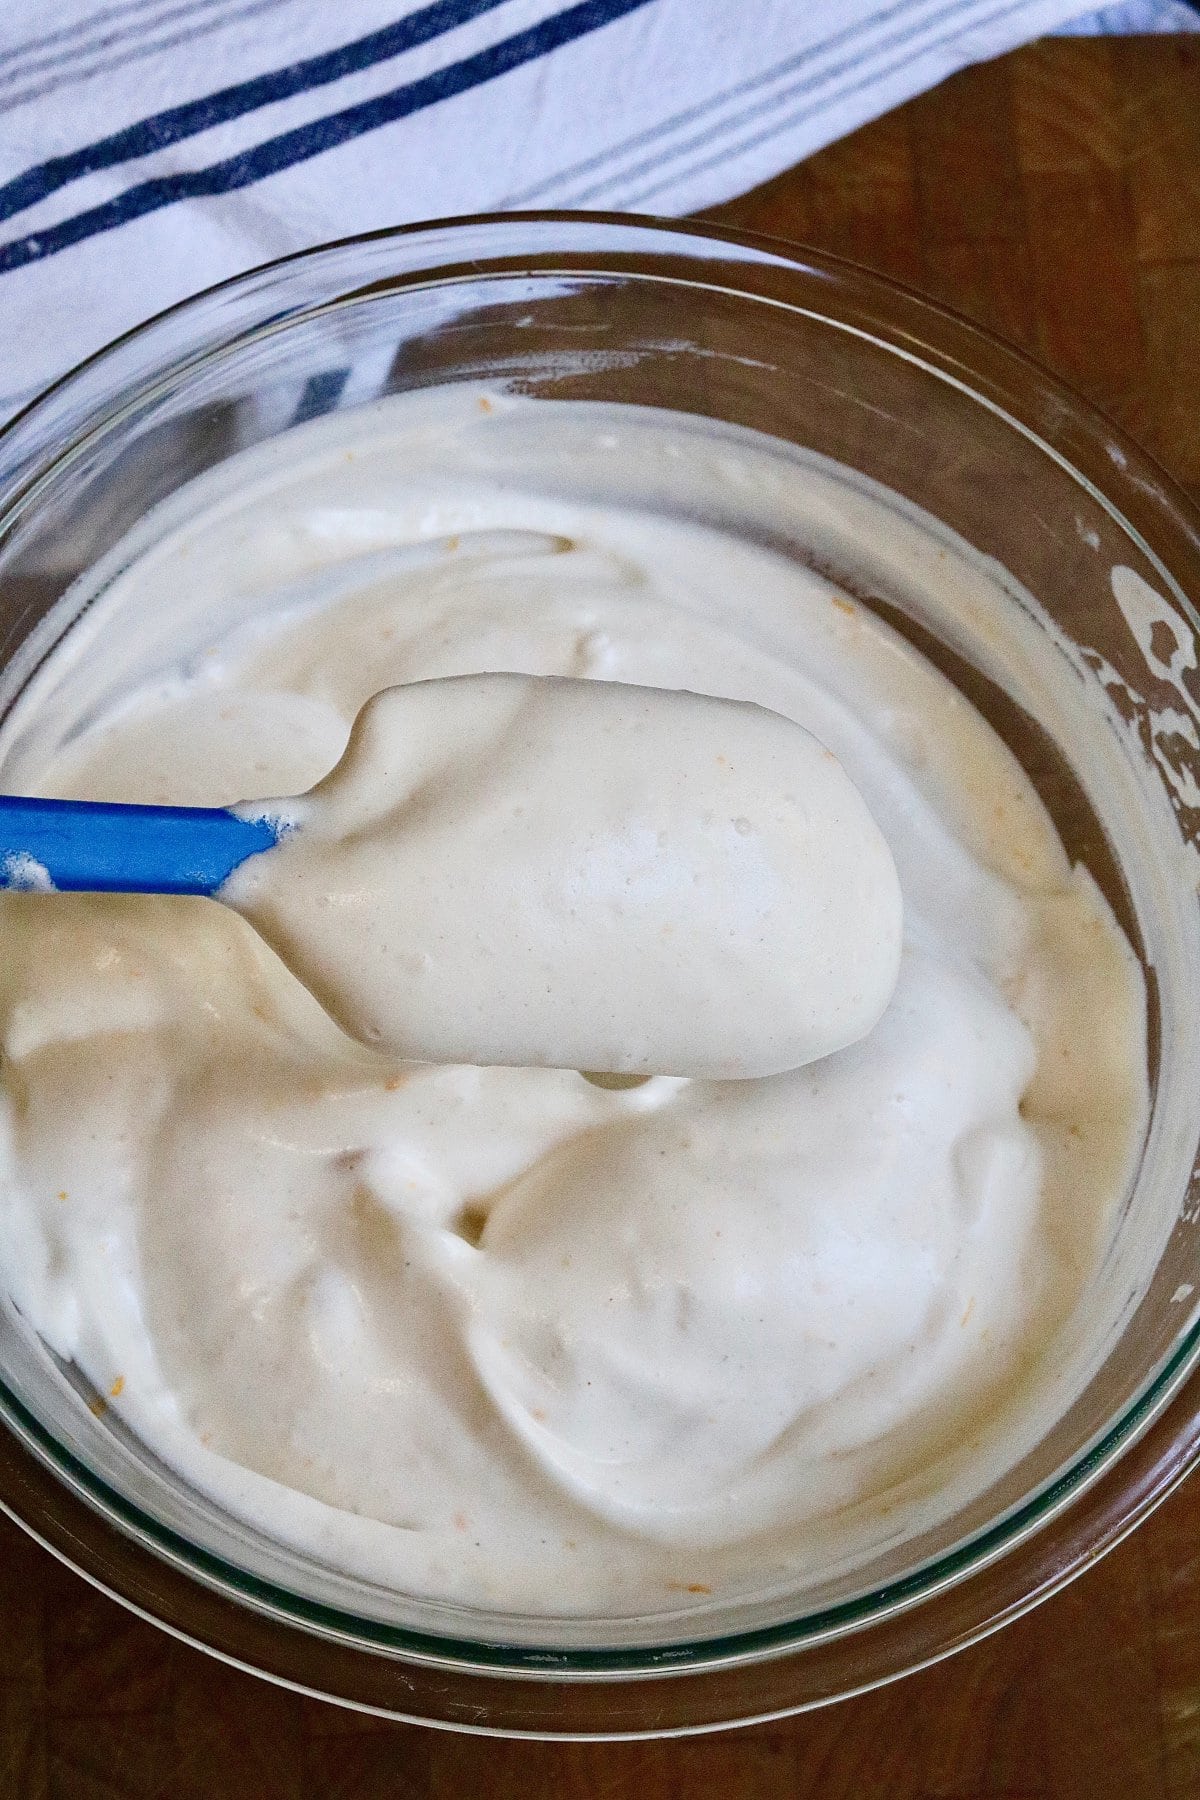
- Whip: Pour the aquafaba into the bowl of a stand mixer along with the cream of tartar. Whip until soft peaks form.
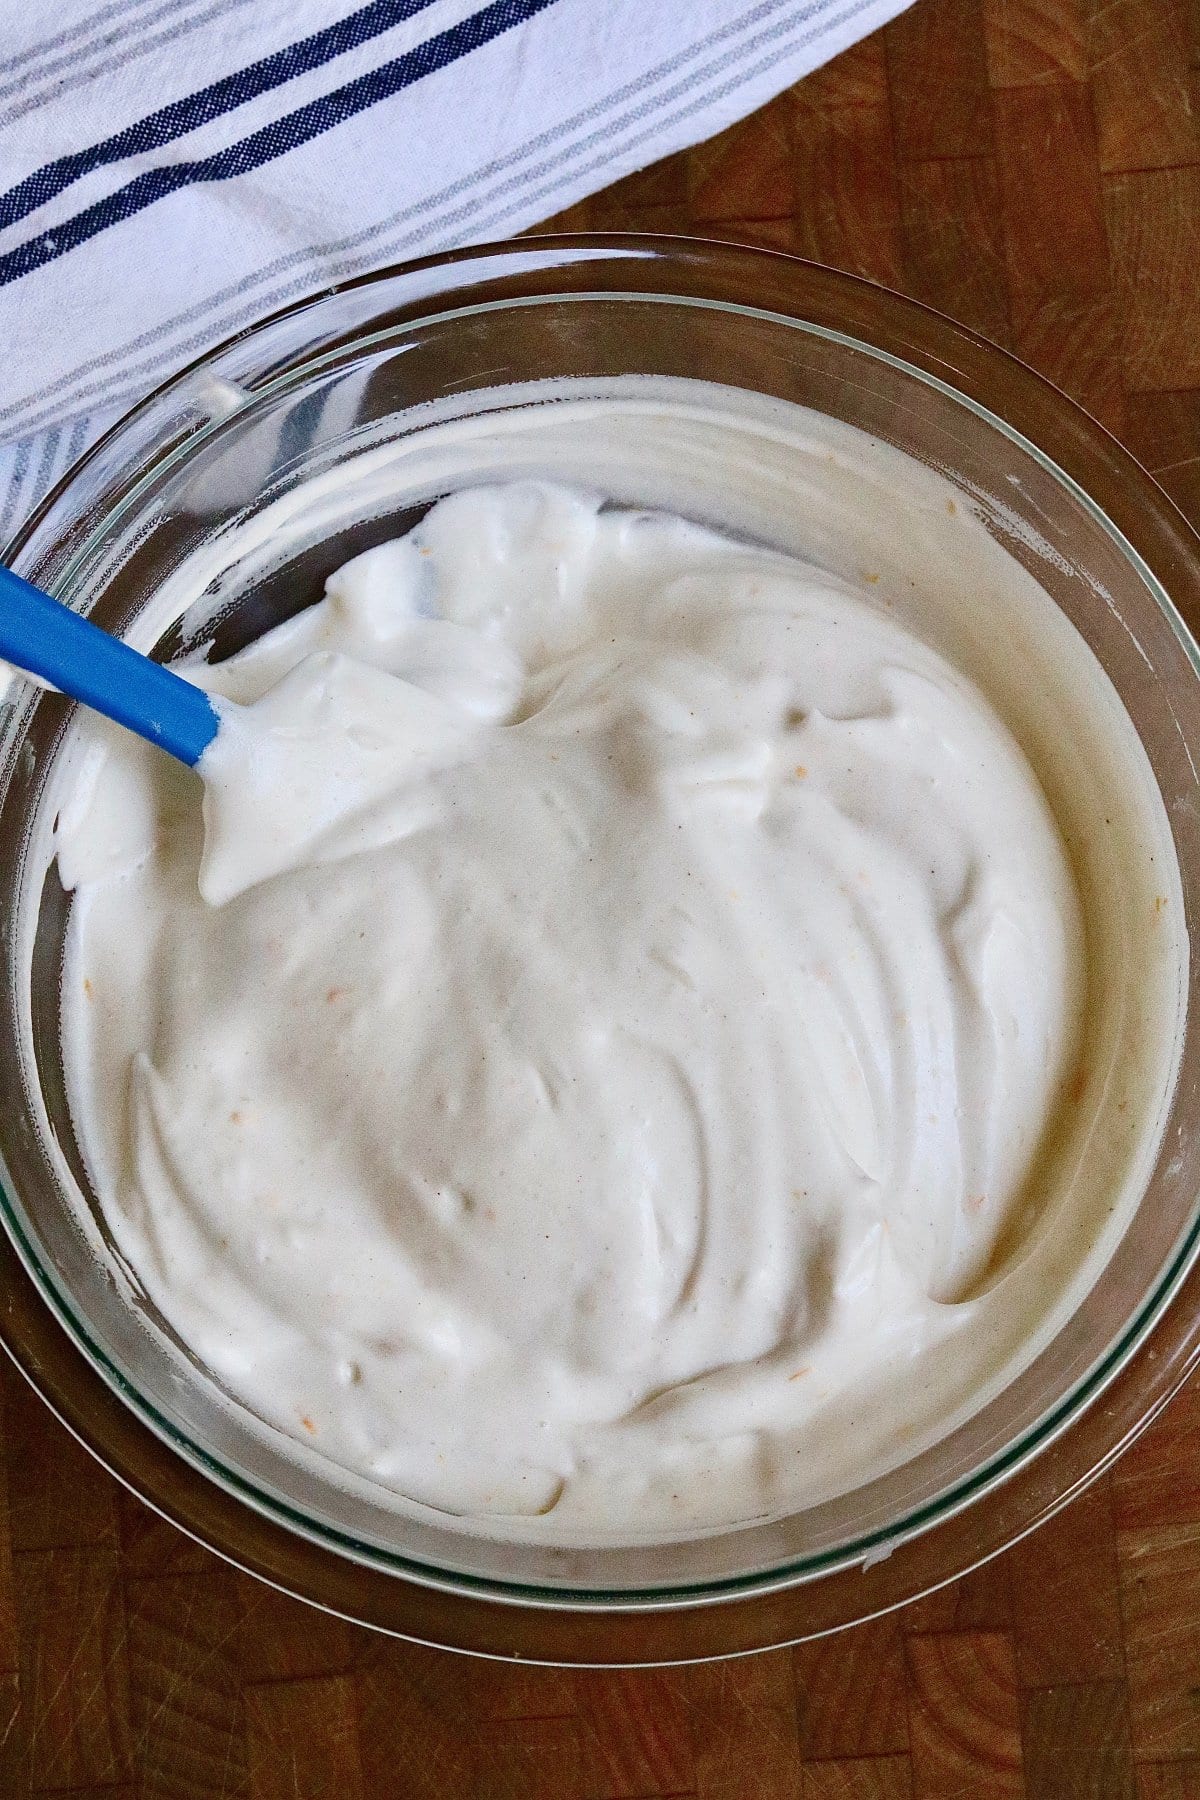
- Add the flavor: Add the vanilla and sugar now. Whip again until stiff peaks form and the whipped cream is fluffy and cloud-like. Use the finished whipped cream on all of your favorite vegan desserts and enjoy! For full ingredients and instructions see printable recipe card below.
Serving suggestions
Use your vegan whipped cream on all kinds of delicious treats! These are just a few ways to use it:
- On vegan angel food cake.
- As a delectable dip for strawberries or fruit.
- On pumpkin pie or apple pie.
- Add a dollop to a mug of vegan hot chocolate.
- Make your coffee treats more fun with whipped cream on top.
- With cheesecake.
- On a brownie.
And so much more!
Frequently asked questions
This “bean water” tastes pretty much how you would expect… like beans. That flavor, however, is well hidden when it’s whipped with sugar and vanilla, meaning your whipped cream will not taste like beans in the end.
If you prefer to cook dried chickpeas instead, save the cooking water from the batch and use it in this recipe instead.
Just keep whipping! Aquafaba can take up to 10 minutes to form stiff peaks with an electric mixer. Cream of tartar will speed up the process.
To store the vegan whipped cream
I recommend using the aquafaba whip as soon as it’s ready. You can pop it in the fridge for a few hours if you don’t need it right away, but any longer and it will start to deflate.
If you really need to save time, try freezing the whipped cream. The texture will be thicker and creamier when it comes out of the freezer similar to frozen Cool Whip topping. Perfect for dipping strawberries or serving on top of a warm slice of pie! So delicious!
Looking for more vegan dessert staples?
- Vegan Caramel Sauce
- Macerated Strawberries
- Simple Vegan Pie Crust
- Vegan Cream Cheese Frosting
- Homemade Dairy Free Chocolates
Enjoy everyone! Happy Day! Please feel free to comment below and give this recipe a rating. Your feedback is greatly appreciated!
Follow me on PINTEREST and INSTAGRAM for more tasty Plant Based & Vegan Recipes❤️
Subscribe here for free weekly recipes delivered right to your inbox! No need to scour the internet. Your one stop shop for recipes is here😊 No spam I promise!
Print
Vegan Whipped Cream
- Total Time: 10 minutes
- Yield: 4 Cups 1x
- Diet: Vegan
Description
This Vegan Whipped Cream recipe is ultra-fluffy, light, and coconut free! It’s easy to make using aquafaba and whips up in about 10 minutes. Perfect for holidays, special events, or whenever you want to turn vegan desserts into irresistible treats!
Ingredients
- 1 cup of aquafaba (from 19 oz can of chickpeas)
-
½ teaspoon cream of tartar
-
2 teaspoons vanilla extract
-
½ cup powdered sugar (icing sugar)*
-
Pinch or two of cinnamon and 1 teaspoon or so of orange zest (optional)
Instructions
- Place the chickpeas in a mesh strainer over a medium bowl to drain the aquafaba. You should end up with a cup of aquafaba or little less. (reserve chickpeas for another use)
-
Add in the cream of tartar and whip with an electric hand mixer (could use a stand mixer) on medium to high for 3 to 5 minutes or longer- up to 10 minutes- until soft peaks form. (the time it takes depends on how thick the aquafaba is)
-
Add in the vanilla and sugar (and cinnamon and zest if using) while mixing. Beat for another couple of minutes. It should be super light, fluffy and cloud-like with soft peaks.
-
Enjoy! I recommend using it immediately or shortly after it's made.You should end up with about 4 cups of whipped cream. Step by step photos, FAQ, suggestions and more in above post.
Notes
- No cream of tartar? If you don't have cream of tartar you can leave it out or add a teaspoon of lemon juice but the cream won't be quite as firm or stable.
- If using homemade cooked chickpeas save the liquid for this recipe.
- Feel free to adjust powdered sugar to suit you taste buds! and use organic to ensure it is vegan-friendly.
- To store: I recommend using as soon as it’s ready or shortly after. Will keep for a couple of days covered in the fridge just rewhip to serve, peaks won't be quite as firm. To save time, try freezing the whipped cream after it is made. It will be thicker and creamier when it comes out of the freezer. Quite nice!
- Prep Time: 10 Minutes
- Category: Desserts
- Method: electric hand mixer
- Cuisine: American, Canadian

Randi says
I just treated us to a lunch of vegan hot fudge sundaes! This was my first time whipping aquafaba- I had some in the freezer. The whipped cream was outstanding! I added a dash of cinnamon as suggested. Yum! (It went with almond milk ice cream and of course- hot fudge!
Rita says
This is amazing
Verna says
Thank you so much!! I am so happy you enjoyed it.
Madeline says
Would never have thought to use aquafaba for whipped cream! This was really excellent and quite simple too thank you!
Verna says
Your feedback is so appreciated! So happy you enjoyed it.
Verna says
Your feedback is so appreciated! So happy you enjoyed it.